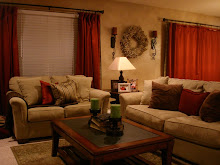
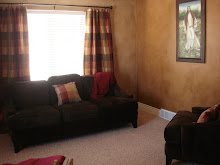
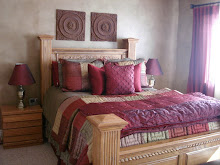
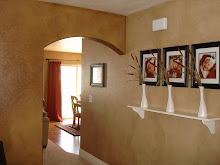
Once you have taken the step to adding color to your walls, why not take the next step and do a faux finish over it? I have posted a few different faux finishes that you could try in your house. All of the pictures don't do any of these techniques justice.
I posted this picture earlier but I wanted to explain how we did it. It is really hard to tell from the picture, but it really is cool in person.
-First we painted the wall with a few coats in red.
-Second, we took a sponge, textured roller and rolled yellow over the wall in straight lines down the wall.
-Third, we put latex gloves on and smeared an orange color around on the wall very speratic.
-Then lastly, we rolled back over everything with the red paint once again. The red doesn't cover completely so the yellow and orange just barely show through and creat this effect.

These next 2 pictures are of my sister's house. She did this Leather technique in her basement and it turned out awesome.
-First she painted the wall a burnt orange color.
- Next, she took some wood stain and painted an 18"x18" square with the stain and then pressed a plastic bag flat against it and then pulled it off. You need to blot the bag where the squares meet so that it doesn't look like a patchwork quilt.

 I have had a lot of people wanting to know how I glazed or stained my walls, so I decided to make a video clip of me doing it in my house to show you how. This technique is such a cheap way to make your house look FABULOUS! All it costs is a quart of stain which costs about $7, some painter's tape and cotton rags. One quart of stain can do a whole house or more! It goes a long way so it is definitely worth the little bit of money and elbow grease :)
The video was to large to post straight on the blog, so here is the link to watch it. http://www.youtube.com/watch?v=SYe1H-kI_ys